 Shoot in shade & add (Warmth) red/yellow to correct for (cool) blue/cyan…that is the two second lesson but if you like to know more…like why you hate photos of yourself, because you don’t think you look that bad, read on.
1. when you take are trying to take a photo with your iPhone, does a yellow square appear? does it sometimes move all over the place? that yellow square is VERY IMPORTANT…what is inside that yellow square, the iPhone has decided to focus (& meter) on.
2. what if the yellow square is on something OTHER then what you want to take a picture of? you have to change it. the camera phone is trying to GUESS what you want. example…this flower (i took this photo with my Nikon D90, but the some of the same rules apply) what i would have done, would be to zoom in to what i wanted, first–which was the center of the flower, i would HAVE TOUCHED MY IPHONE SCREEN’S IMAGE OF THE FLOWER in the CENTER . then the camera would have focused on the center & give me the best exposure in that area.
3. but the color is wrong? do you see the two white dots? i put one dot on the petals that appear blue-ish & the other beside the blurry white petals. the white petals, that are blurry are overexposed…like a sunburn. too hot.
4. we’ve all heard to avoid the sun between the hours of 10am-2pm in the summertime, those are the hours the sun is closest to us during the day. which is why when you take a photo in sunlight during those times, your images could be overexposed in most areas. people also squint & have hard shadows under their nose & eyebrows…so when & where is the best place & time to take a photo?
5. i tend to shoot mostly in solid shadow. but EVERYTHING shot in shadow, including people, is blue (or cyan). to correct for this on the iPhone…amazing really, not only do you feel cooler in the shade, the color the camera sees are cool colors. WEIRD. How to correct the blue/cyan on your iPhone…
a. chose the image you’d like to color correct by pressing ‘edit’ in the upper left hand corner. you can press the magic wand & with luck, the camera will fix what you want. or…
b. you can press the image on your screen on the right bottom…the one that looks like a clock (beside ‘done’)
c. you will have more options in which to edit your photo, there is ‘light’, ‘color’, ‘B&W’. if you press color, you will have a sliding scale that you can use or you can select the three lines on the right hand side, above the scale. when you press those three lines…
1. you will get saturation, contrast, cast…Saturation will intensify your color (but if your white flower is blue, it would suck) or decrease your color. (which is fun)
2. Contrast will increase your image by changing the color’s highlights to lowlight. very similar to saturation, but mostly with the focal point of the image, say…a flower.
3. Cast is what will change the image from cool to warm…this is where i would be able to change the blue petals to white, but it is a balancing act because if you warm the petals too much, then the other petals will turn red/yellow/orange
 this is the same image, but “warmed” the white seems closer, but the entire image is too warm…i’m pretty sure the phone added mostly red, which helped with the cyan, or blue, part of the image
 This image was corrected using yellow/blue, which equals green, but the center of the flowers is not right…maybe too much blue?
 This is as close as ,i can edit, to the flower i saw with my own eyes.
AND that is the point in editing, trying to make the image match what the naked eye saw, not what the camera did, right?
Before we all when digital, when we used film(those old enough to remember)…did you think the photos you took with film were better then your new digital? They were, do you want to know why? because film had to be printed by a human being, a printer. this printer’s job was to edit photos to look like they did, or as close as they could, when the photographer took them.
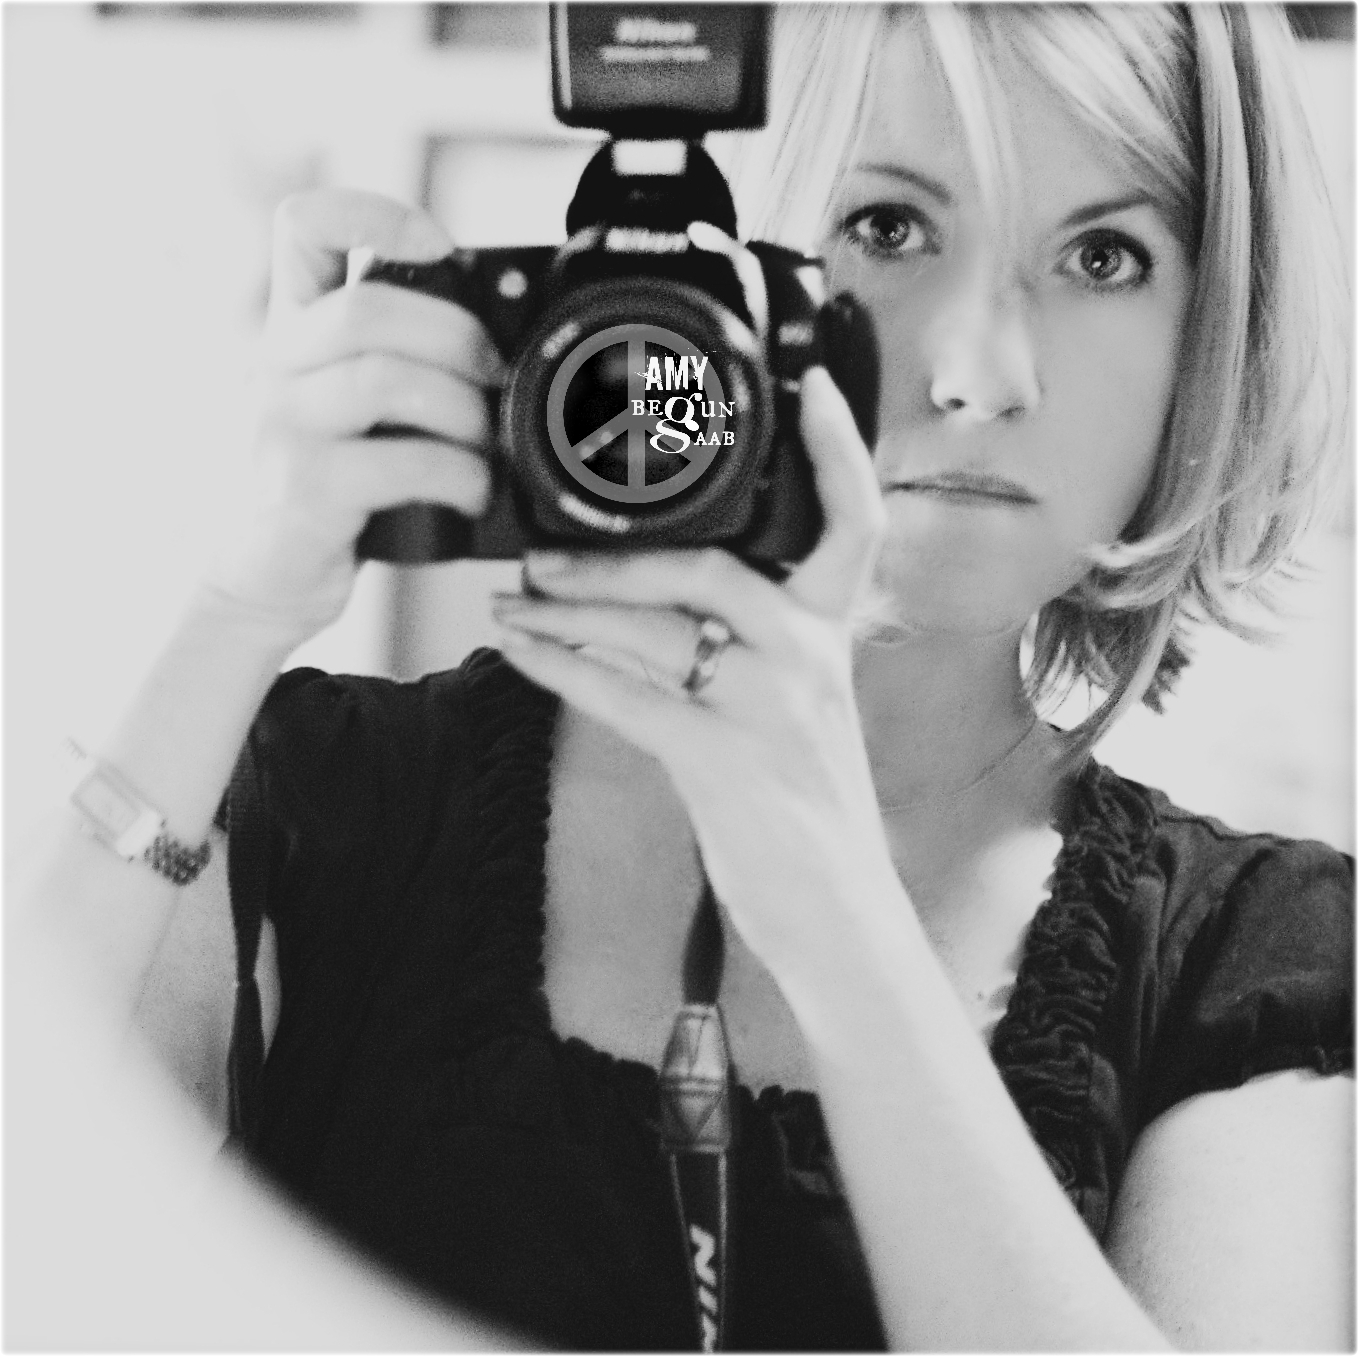
did you ever wonder why you see photos of yourself & think you look terrible? it is true we only see ourselves in reverse in the mirror BUT, in our reflections, we are moving, breathing, we are alive. our facial muscles move to make expressions, our eyes move to see imperfections.
but the camera? Oh, the camera can be so cruel. shadows that are not noticed in the mirror are seen by the camera alone. our wrinkles seem deeper (the camera sees the shadows there) , our eyes have shadows beneath them (the camera sees the shadows cast by our eyebrows–eyebrows are needed by humans to protect their eyes from the sun’s rays), we see things in our photographs that we NEVER took notice of in real life.
this is because the camera is an extraordinary tool that can stop time. “The camera will remove a person’s soul” we’ve read about some people believing that, but in a way, they are correct. what we really want, when we take pictures, is capture LIFE, never stop it. LIFE in real time, not stopped time. There is a HUGE difference in what the camera sees & what our eyes do. Seeing real LIFE is something the camera will never really be able to do.
a professional photographer will edit the image, to look as it did, when they shot the photograph. The photographer will put LIFE back into the image.
that is the difference between a picture & a photograph.
Here are all four images side by side…and i’m too tired to edit what i wrote, so as always, with me, forgive my mistakes.


Thanks for the tips…. and Yes! THe camera has an uncanny ability to steal the soul, even of gregarious children.. Rather amazing and definitely something I’m always looking out for. As for me, I don’t take selfies. 😉
LikeLike
Oh, i have a teenage daughter who has grown too attached to her phone. I have her do her chores before any electronics. AND when she makes a mistake, she loses everything. I told her, “I love it when you get into trouble, because then, we get to spend more time together” then i held her and told her how much i love her. Here is to getting into trouble. I’ve taken about two selfies…they are of me and one of my animals. Those are for me only. 🙂 ~amy
LikeLike
Hey Amy .. Thank you so much. I just have a new iPhone and this helps a lot! Is there an app that you like for the phone?
LikeLike
I don’t use any apps for my iPhotos. i edit them on the phone & post/send. if i need more editing i upload them to my computer & use Adobe photoshop…the cheaper one. 🙂 ~amy
LikeLike
thank you, Great Info….. I’ll have to return to this a few times ! 🙂
LikeLike
I hope it helps AND i hope you have a wonderful time playing & shooting! ~amy
LikeLiked by 1 person
been out most days, ‘practicing’ and hoping I am learning, Something!!
LikeLike
You should be able to see a difference already if you are practicing!! I hope you’ll share when you pick your favorites to post! ~amy
LikeLike
Great tips. Can’t wait to get out side and try some of your techniques.
LikeLike
Yippeeee! I hope they help! And i hope, most of all, that you have fun shooting. ~amy
LikeLike
Thank you for that…
LikeLike
Hope i help you in the future, with editing your photos! ~amy
LikeLiked by 1 person
Super Amy !!!!
LikeLiked by 1 person
Thank you, Nancy! I hope i made sense! ~amy
LikeLiked by 1 person